#5 Passing argument in Spring MVC
This tutorial is next step of my previous tutorial.
In this tutorial we will simply create:


In this tutorial we will simply create:
- One login form.
- One success page
- One failure page
- Controller for redirection
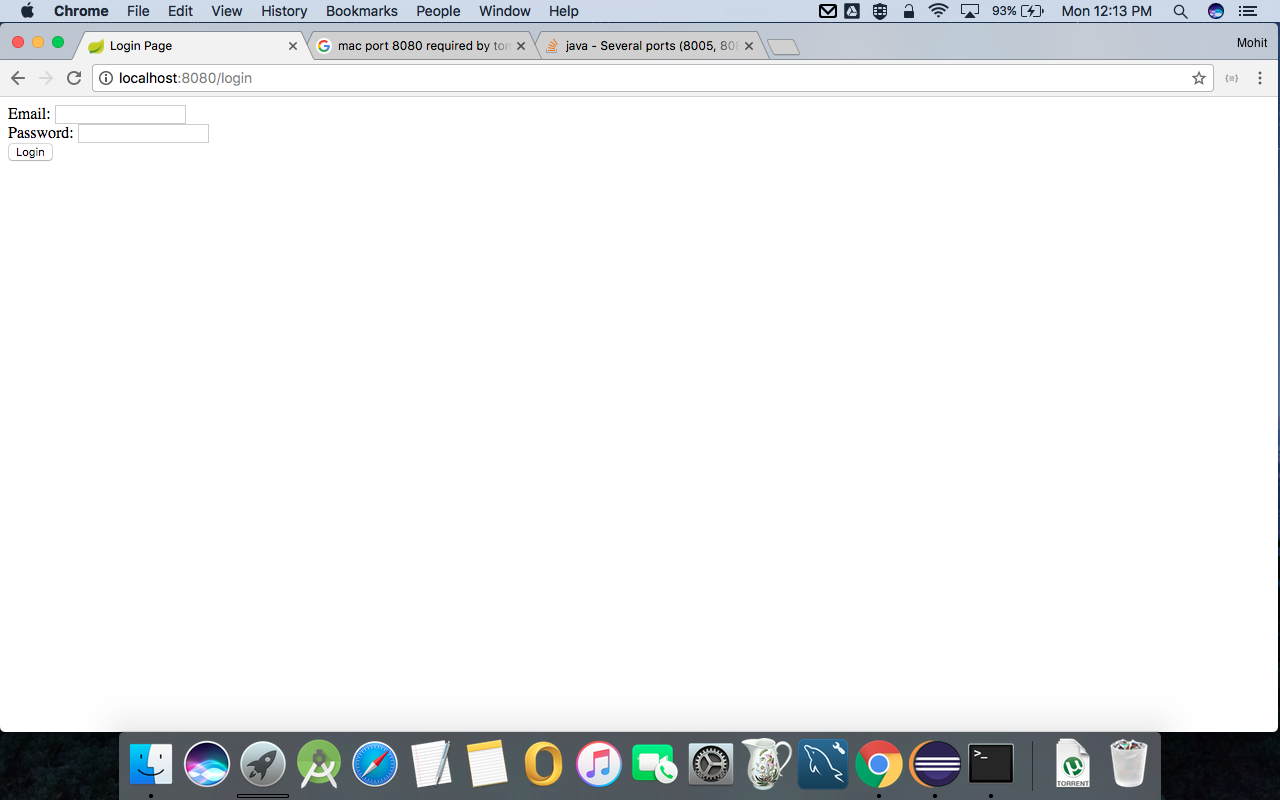
1. Lets start with Login form as given below:

Please note that in form I have defined action as login_authenticate. This will be the REST api name which we will require to develop. Once login will press it will search for login_authenticate api.
2. Create Error page as below:

3.Create Welcome page as below:

Please note that I have used ${name}. It will pick value set via ModelMap ( see login_authenticate api below in blog.)
4. Create login api in ModelController to display login page:
5. Now create login_authenticate api which will be called for authentication. Please note that in below api we added some constant username/password for authentication. You can use your Db for the same:
In above api I just read value of JSP email and password field. After value is read i verify them with some values ( it can be your custom logic ). Based of result we redirect to welcome OR error page.
While redirecting to Welcome page I just set email in ModelMap that I can read back to welcome page and can display in UI.
Please note that if we write " redirect:<api name>" then we must write related api as well in the controller. So we have to write welcome and error api as given below:
By using redirect, we can update URL in browser as required.
So here are the final outputs sequently:


Comments
Post a Comment